Optimizing Your Sandustry Factory
Find bottlenecks, balance ratios, and scale from starter pit to a factory that runs without you.
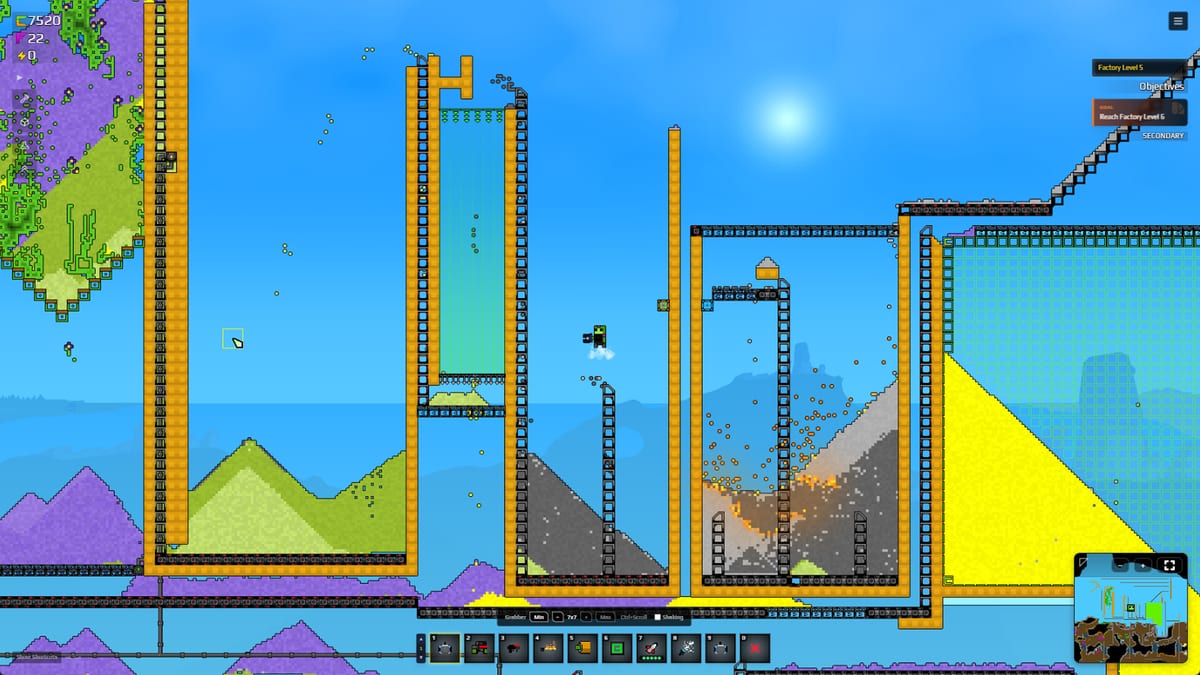
A factory that works is not the same as a factory that works efficiently. Optimization is the practice of finding what limits your throughput — the shaker that starves because sand cannot reach it, the belt that clogs because slag piles faster than it burns, the press that idles because your lava pit ran dry — and fixing it systematically. This guide covers the diagnostic mindset and the specific fixes.
The optimization mindset
Do not optimize what you have not yet identified as a bottleneck. The most common mistake is adding more shakers while the real constraint is water supply. Always:
- Identify the bottleneck — what is the one thing that, if fixed, would increase gold per minute?
- Fix only the bottleneck — adding capacity elsewhere is wasted effort until the current limit is resolved
- Verify the fix — measure gold per minute before and after to confirm improvement
Use the Production Ratio Helper to model belt speeds, shaker counts, and water throughput before building.
Common bottlenecks and fixes
Bottleneck: Sand mining rate
Signal: Sand belt runs empty; shakers starve.
Fix:
- Add a parallel sand mining face
- Upgrade from manual dig to Digger drones
- Extend the sand pile closer to the dig face to reduce travel time
Bottleneck: Water supply
Signal: Mixer outputs dry sand; Wet Sand production drops.
Fix:
- Run a dedicated water pipe to the mixer — not a shared lake pipe
- Add a header tank above the mixer for pressure
- For renewable water: burn Snow or Firn; collect steam rain into a cistern
Bottleneck: Shaker throughput
Signal: Sand and water flow fine but gold per minute is lower than expected.
Fix:
- Verify shakers are diagonal — flat shakers lose gold to clogging
- Check for correct slope so gold falls through while slag continues
- Add a second shaker in series so material gets a second roll
Bottleneck: Slag evacuation
Signal: Slag backs up onto shaker grates; shakers jam.
Fix:
- Slag belt must have a clear evacuation path — no dead ends
- Add a separate slag belt from each shaker row
- Route slag to burn lane before adding more shakers
Bottleneck: Burn lane capacity
Signal: Burnt Slag backs up; press idles.
Fix:
- Lava pit burns slag automatically; flamethrower lanes need player time
- Scale burn lanes proportionally to slag generation — one lava pit per three to four shakers is a common benchmark
- Keep a Cinder buffer above each burn lane so it does not run dry
Bottleneck: Press throughput
Signal: Burnt Slag accumulates; press is the limiting step.
Fix:
- One Kinetic Slag Press handles roughly two to three burn lanes worth of slag
- Add a second press if your burn lanes produce more than one press can process
- Route press output to the same gold collector as your shakers
Ratio balancing
Sandustry factories run on ratios. The key ones:
| Ratio | Target | What happens if wrong |
|---|---|---|
| Sand : Water | 1 : 1 | Too dry = no Wet Sand; too wet = slurry that clogs |
| Wet Sand : Shaker | 1 shaker per ~3 sand/min | More shakers than sand = idle shakers |
| Shaker : Slag evacuation | 1 belt | Slag piles on grates if evacuation is slow |
| Slag : Burn capacity | 1 lava pit per 3–4 shakers | Burn lane overwhelmed if too many shakers |
| Burnt Slag : Press | 1 press per 2–3 burn lanes | Press idles if starved; backed up if overfed |
The Production Ratio Helper calculates these for your specific factory size.
Belt speed and layout
Belt speed is fixed in Sandustry. Layout decisions that affect throughput:
- Short belts beat long loops — less jam surface, faster material travel
- One material per main trunk until Filters unlock — mixed belts require sorting before they reach shakers
- Parallel lanes scale linearly — two sand belts from two dig faces double sand input if each is independently fed
- Launcher stair efficiency — test each launcher tier with a known sand volume before connecting the chain
Scaling from starter pit to megabase
Stage 1: Manual starter (0–30 minutes)
- Two diagonal shakers, one collector, manual sand + water
- Goal: prove the loop; learn shaker angle and gold proc rate
Stage 2: First automation (30–60 minutes)
- Add Logistics 1: conveyors and one launcher
- Route sand belt → mixer → Wet Sand belt → shakers
- Add a flamethrower slag burner
- Goal: shakers run without constant feeding
Stage 3: Slag press (1–3 hours)
- Unlock Refining 2: Kinetic Slag Press
- Route all slag to a lava burn lane or upgrade flamethrower to lava pit
- Add Spore collection for flower line
- Goal: second gold stream from press
Stage 4: Fluxite start (3–6 hours)
- Unlock Flux Emanator: Amethelis + RedSand → Voidbloom → Fluxite
- Build first planter boxes
- Spend first Fluxite on scanner, capacity, hover
- Goal: hands-off Fluxite income
Stage 5: Deep factory (6+ hours)
- Dig vertical shaft to lava layer
- Build Scoria → Cinder → lava pit logistics
- Stack factory floors: sand/mixers → shakers → burn/press → flowers
- Scale each floor with parallel lanes
- Goal: gold per minute that funds research faster than you spend it
Signs your factory is well-optimized
- Gold income per minute is steady and predictable — not spiky
- Shakers run continuously without manual refilling
- Slag does not accumulate on grates between sessions
- Press has a steady input of Burnt Slag
- Fluxite grows without you touching the Emanator
- You can leave the factory for 30 minutes and return to more gold, not a jam
Related guides
- Production Ratio Helper — balance dig rate, water, shakers, and burn
- Starter Factory Layout — proven early factory shapes
- Factory Blueprints — detailed layout diagrams
- Lava-Powered Factory — self-running heat for slag and flowers
Frequently Asked Questions
Quick answers to the most common Sandustry questions.
How do I find the bottleneck in my Sandustry factory?
Watch each stage of the factory for the one that fills up first. Common bottlenecks: water supply, sand mining rate, slag evacuation, burn lane capacity. Fix only the bottleneck before adding capacity elsewhere.
What is the ideal sand-to-water ratio?
The target is 1:1 — one Sand plus one Water produces two Wet Sand. Too much water produces slurry; too little produces dry sand that shakers cannot process. Use a dedicated water pipe to the mixer.
How many shakers can one lava pit support?
A common benchmark is one lava pit per three to four shakers. If slag starts backing up, add capacity either by widening the burn lane or adding a second lava pit.
When should I add a second Kinetic Slag Press?
When your burn lanes produce more Burnt Slag than one press can process. One press handles roughly two to three burn lanes. Route press output to the same gold collector as your shakers.
How do I know if my factory is optimized?
Signs of a well-optimized factory: steady gold income per minute, shakers running continuously, no slag accumulation on grates, press with steady input, and Fluxite growing without attention. You can leave for 30 minutes and return to more gold.
Should I optimize before or after scaling?
Optimize the current stage before scaling to the next. Adding more shakers while water is the bottleneck wastes resources. Fix the bottleneck first, then add capacity.