Sandustry Thermal Buffer and Burner Belt
Store heat, share it with neighbors, and stop walking the slag belt with a Flamethrower.
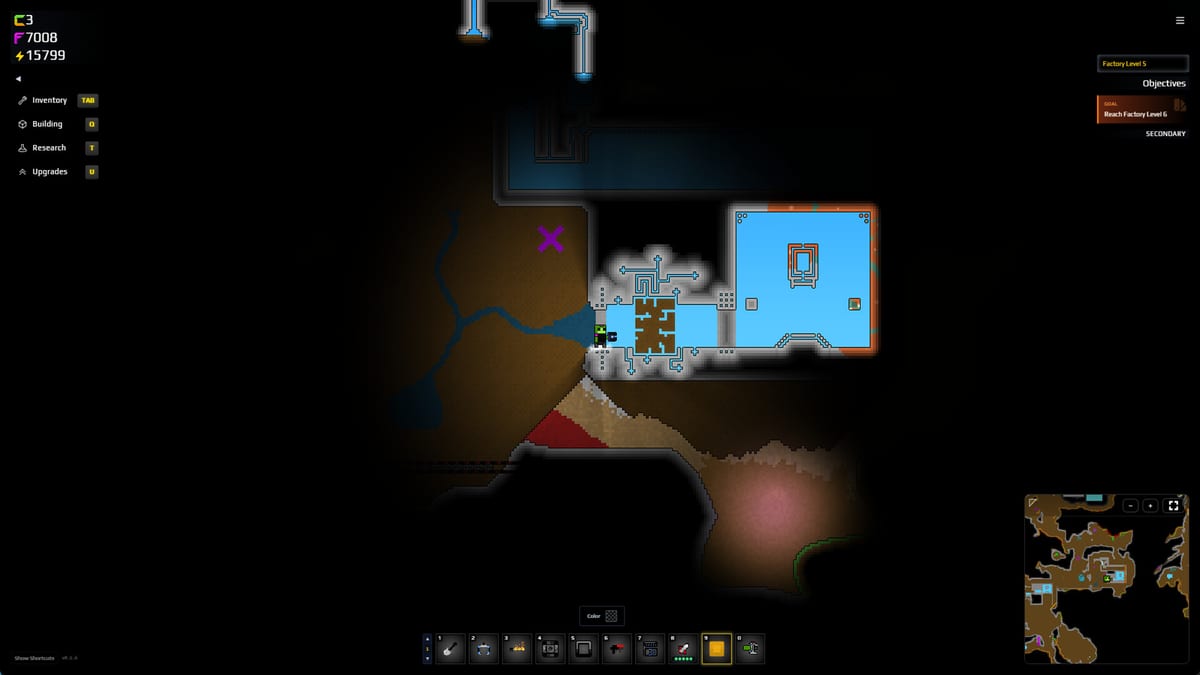
The Thermal Buffer is the building that turns heat into a utility, the same way a tank turns Water into a utility. Official research text: it stores and distributes heat for nearby machines. Community Early Access write-ups put a heat segment on the slag conveyor so residue becomes Burnt Slag on the way to the Kinetic Slag Press — that segment is this buffer plus, often, a Burner Belt. If you are still walking the line with a Flamethrower, this page is the unlock you felt missing.
What the buffer actually does
Heat in Sandustry is a pixel state, not a hidden watt. Lava, fire, embers, and hot machines raise temperature. Cold structures, Snow, and Cryoblaster shots lower it. Official beginner language: hot thermal structures refine solid → liquid → gas; cold thermal structures run the ladder backward. The Thermal Buffer sits in the middle as a battery of temperature so a Smelter, Pyro Dispenser, or Burner Belt can stay hot without a lava river through the mall.
It does not generate heat from nothing. You still need a source: adjacent Lava, a fire box, or another hot machine. Think of it as a capacitor, not a reactor.
Research and neighbors
| Node | Catalogue cost (launch table) | Job |
|---|---|---|
| Thermal Buffer | ~1000 Gold | Store / share heat |
| Burner Belt | ~500 Gold | Ignite flammables when the Buffer feeds it |
| Pyro Dispenser | ~2000 Gold | Flame burst every ~3 s, Buffer-fueled |
| Smelter | ~3000 Gold | Melt elements on top; Buffer or Lava fuel |
Factory Level can hide these nodes. Hotfix 0.5.3 shows the blocking objective. Costs follow the official research table until a later Steam note moves them.
Place the Buffer adjacent to the machine that should stay hot. Diagonal kisses are less reliable than a shared edge. Do not bury the Buffer under a full sand pile — you need to see whether it is actually charged.
The slag auto-burn (why you came here)
Starter Factory and Slag Processing already tell you: burn before the press. Manual Flamethrower works. The Buffer upgrade is:
Shaker slag exit → long conveyor → Thermal Buffer + Burner Belt segment → Burnt Slag → Kinetic Slag Press → CollectorRules that keep it honest:
- The belt must be long enough for ignition to finish before the press tile. Short belts deliver raw Slag and jam the press.
- Gold Collectors stay under the shaker and press, not under the fire segment (Collectors and Lights).
- Flowers and Moss stay on another floor. Embers ignite botanical rows (Flowers and Planters).
- Filters reject Wet Sand from the burn lane (Filters).
If the Buffer is cold, the Burner Belt is just a conveyor. Charge it from Lava via a Scoria / Cinder heat import, or from a dedicated firebox you control.
Heat versus cold (do not mix the rooms)
You will also use cold for Florinol condensation and for Ice tricks. Official rule again: heat climbs the state ladder, cold descends it. Build two closets:
- Hot closet: Buffer, Burner Belt, Smelter, lava import.
- Cold closet: Condenser, Snow, Cryoblaster, Florin → Florinol.
A shared wall is fine. A shared tile is how you invent Steam in the battery room and Ice on the slag belt.
Smelter and Pyro Dispenser
Smelter wants elements on top and heat from the Buffer or Lava. Use it for metal / copper lines that later fill Power Bricks — not as a second Shaker. Pyro Dispenser is a timed flamethrower turret for clearing flammable junk or lighting a residue pit you cannot belt. Both are hungry neighbors; one Buffer can starve if you hang three machines on a single charge. Start with one consumer per Buffer until you watch the heat hold.
Safety
- Queued buildings block Water (demo hotfix habit that still matters). Do not sketch a Buffer in a flood channel.
- Ctrl-replace (Hotfix 8) lets you swap a dead belt tile for a Burner Belt without deleting the line (Demo Patches).
- Hard Mode still lets hover clip rules differ. The Buffer does not care; your body does (Movement and Hover).
When to buy it
Buy Thermal Buffer after Logistics 1 and Tools 1 (Flamethrower), once walking the slag belt is the boring part of every session. Buy it before you start the Energy heat cell — that cell is the same building with a different feedstock (Dry Amethelis instead of Slag).
Related
- Slag Processing — Why Burnt Slag exists.
- How to Get Energy — Heat and cold as a recipe, not a belt.
- Lava, Scoria, and Cinder — How to move a heat source.
- Buildings Hub — The rest of the machine list.
Heat is a belt. Buffer it, or keep walking.
Frequently Asked Questions
Quick answers to the most common Sandustry questions.
What does the Thermal Buffer do in Sandustry?
It **stores and shares heat** with adjacent machines — Burner Belt, Pyro Dispenser, Smelter. It does not create heat; feed it Lava or fire.
How do I auto-burn slag without the Flamethrower?
Research **Burner Belt** + **Thermal Buffer**, put a hot segment on the slag conveyor, then drop **Burnt Slag** on the Kinetic Slag Press.
Can I use one Buffer for slag and Florinol?
Not in the same room. Florinol needs a **cold** condense step. Keep hot slag and cold Energy closets separate.
How much Gold is the Thermal Buffer?
Official launch table: about **1000 Gold**. Burner Belt is about **500**. Confirm in-game; Hotfix 0.5.3 did not change costs.
Why is my Burner Belt not igniting?
The Buffer is cold, the belt is too short, or Wet Sand is on the lane. Charge the Buffer and read Slag Processing.
Does heat refine materials by itself?
Hot structures push **solid → liquid → gas**; cold reverses that. Details on How to Get Energy and Water, Ice, and Steam.